Showing posts with label homemade. Show all posts

Tuesday, November 17, 2015

My failed attempt to bake Matcha Green Tea Cupcake

This Matcha green tea cupcake is among the very first recipes that I've tried when I started baking 3 months ago.  I was a newbie, still is now. It was a failed attempt but a fun one nonetheless. My recipe is from BakingMad.


Ingredients for the cupcakes:

175g unsalted butter
175g self raising flour
175g caster sugar (feel free to halve this if you don't like overly sweet cupcake)
1/4 tsp baking powder
1/2 vanilla extract
1 tbs matcha powder
3 eggs 


But as you can see here, I cut the ingredients to suit my needs. Which later I found out is a big mistake.


It is a must to sieve the dry ingredients especially the flour because it helps your cupcake to rise when baked.


Cream the butter and sugar until pale and fluffy. This took roughly around 5 minutes at medium speed.


This is my another mistake. Adding the egg and dry ingredients at the same time.

Although the recipe says adding the rest of the ingredients together into the butter and sugar batter, I suggest that adding the egg first and whisking it together until it is well incorporated. Only then you can add in the dry ingredients little by little while whisking at slow speed to avoid the flour creating mess. 

Once your batter is ready, scoop into the cupcake case and bake for 20 mins at 180 degree Celcius.


Ingredients for the icing:

300g icing sugar (I halved this)
175g butter
1 tbsp water
1tsp matcha powder
1 tsp vanilla extract

Beat the butter until smooth and add the icing sugar little by little. Lastly, add in the rest of the ingredients. And there you have it.


Lucky I have the buttercream icing to cover my ugly cupcakes. I didn't beat the cupcake batter well and it ended up crack and rupture in the middle. So I covered it generously with buttercream. Taste wise it was okay but I could have done better.

I once read that baking is different from cooking. In baking, you have to follow the ingredients closely if compared to just wing it in cooking. Well I learnt my lesson through my failed cupcakes. Now that I have enough practice, my cupcake is close to perfect, if I may say so myself. Next I have to work on my buttercream and piping skill obviously.

Monday, September 28, 2015

Homemade Almond Milk

I'm a huge fan of Youtube because it is my survival guru. No kidding, I learnt how to cook properly on Youtube, I learnt how to bake on Youtube, I learnt how to put on makeup on Youtube. And today I'm going to share what else have I learnt from Youtube, making my own almond milk.

Almond milk is not common in my place. I know about it from watching Youtube videos of some beauty guru breakfast meal. They brag about how good it is and what a great substitute of dairy milk it is. You can read about the benefit of almond milk here. 

Since almond milk is not readily available and if available, normally cost triple of the normal milk, I decided to make my own. It is so simple and take less than 10 minutes (if you minus the soaking time). I used this guide from The Kitchn and and this video from Youtube.

Ingredients needed are:
1 cup of raw almond
2 cups of water, (more for soaking)
Sweetener like maple syrup, I used honey


Got my raw almond from Farley for RM7 for 100gram. 


Step 1 is to soak the almond overnight or up to 2 days.

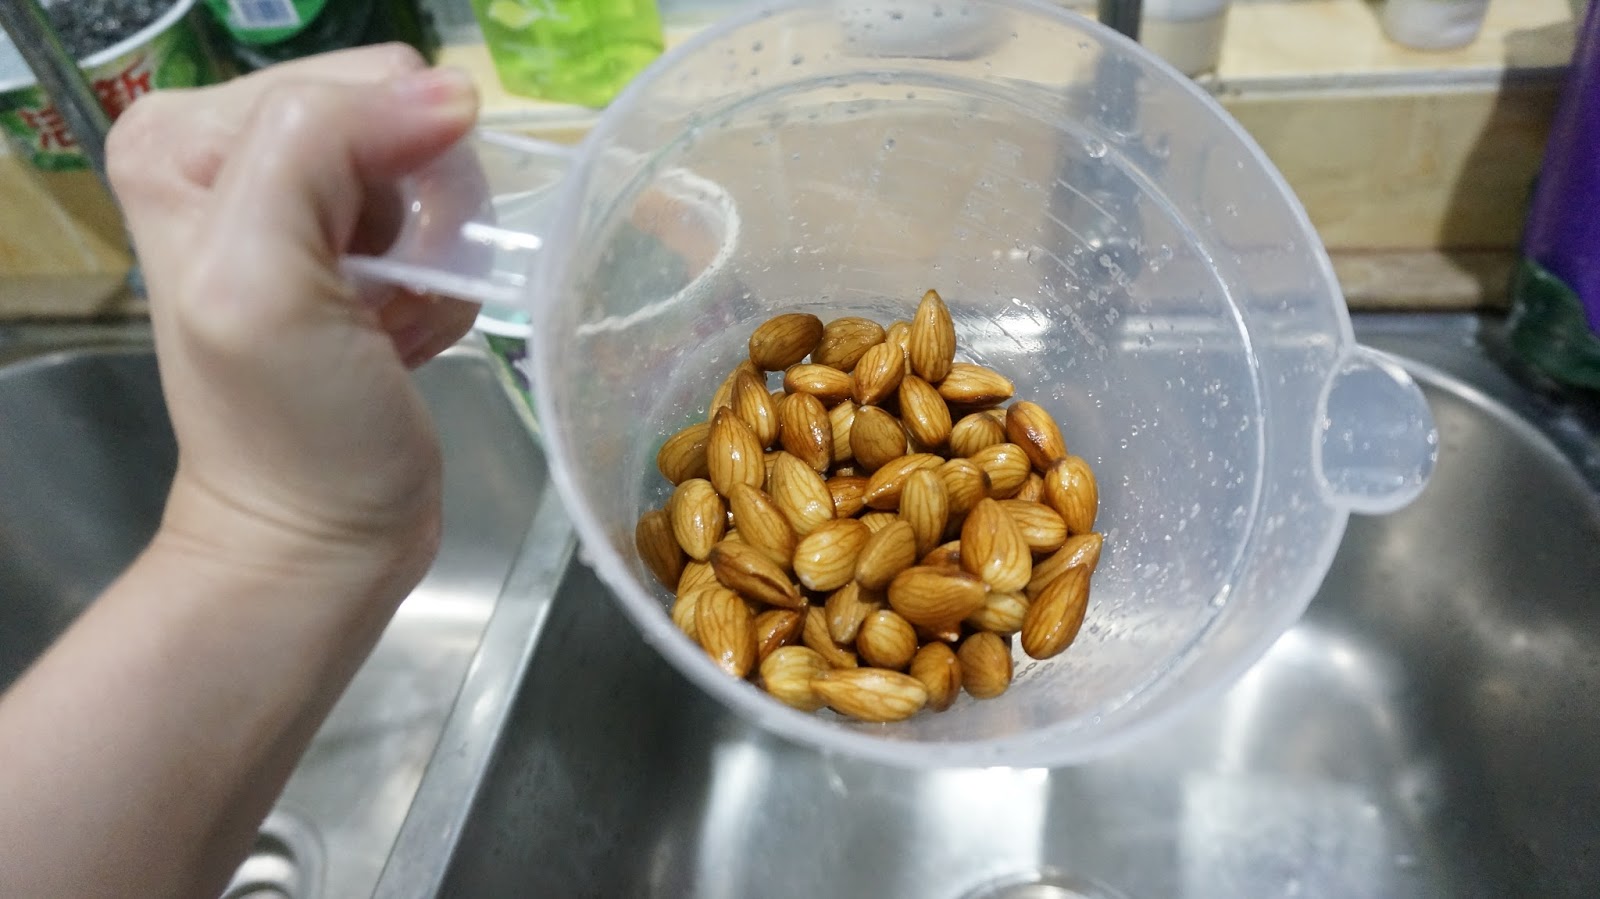
I soaked my almond with water for one and a half day. They said the longer you soak your almond, the creamier your milk will be.When soaking the almond, don't put too much water, put just enough to cover all the nuts. Then cover the lid with towel and leave it for at least an overnight. The almond will soaked up the water and become plump. 

After an overnight, your almond water will look like my photo above. Don't worry about whitish bubbles. It is phytic acid released by the almond.


Step 2 is to throw away the soaking water and rinse your almond thoroughly.
At this point, you almond will be plump. Rinse it properly to get rid of the leftover soaking water.

Step 3 is to combine the almond and water in the blender.

1 cup of almond calls for 2 cups of water. Make sure the water is clean and safe for drinking.

Step 4 is to blend the almond and water at high speed.
I blended mine for at least 3 minutes at high speed then stop at interval to check if my almond has broken up properly. I shook the blender gently and continue to blend for another 2 minutes until the water is white and opaque.


I only stopped when froth like above formed.

Step 5 is to strain the almond into cheese cloth or muslin.
I don't have cheese cloth or muslin cloth so I use coffee strainer instead which works perfectly line. Pour the almond into the coffee strainer like my set up above. Remember to put a strainer under your coffee strainer to ensure no almond crumbs get into your milk.

Step 6 is to press the almond.
After pouring the almond into the coffee strainer, gather all of it and twist the coffee strainer off. Then press with all your might to get all the milk into the cup. And lastly, add in honey for sweet taste.

I got 2 bottles of almond milk from the recipe above. Almond milk can be store in refrigerator up to 2 days. As for your almond crumb, you can make a meal out of it. Just google any recipe that using almond crumb.

My total cost for the almond milk is only RM7 which is super cheap and I get yummy homemade almond milk out of it. The recipe is so easy and basically fool proof. You should try it at least once. As for me, why buy if I can make it at home for lesser price.

Saturday, September 26, 2015

Lemon Drizzle Cake

I have tried cupcake many times before and now I wanted to step up my baking game by making cake. As a starter, I picked the easiest recipe from my favorite baking side BakingMad. I looked through the site and found Lemon Drizzle Cake to be the easiest one. Only need 5 main ingredients that readily available in my kitchen.

The recipe is here. I however omitted the cornflour and ground almonds because I don't have any. It doesn't compromise the taste of my cake because it is still delicious.


My ingredients. I halved all of the ingredients because I wanted a smaller cake. 


I think the most important step in the whole process if sieving the ingredient especially the self raising flour because I skipped this step in my cupcake when I made it first time. My batter was clumpy :(


Tada my lemon drizzle cake. I overdone the lemon drizzle with caster sugar and it was too sweet. Hence I only drizzled a little bit. And my cake cracked at little bit when I took it out of the tin because I didn't greased it properly.


I super love how simple yet delicious this cake is. I'm not one to brag but I've nail it down for this one. Now I'm off to make banana cake. Bye!